The Broadcast module provides an easy and effective method of messaging property management personnel, tenants, and vendors. This type of Broadcast messaging provides previous message information, the dates and times messages were sent, and a recipient list.
This section describes the process of creating a broadcast message and adding recipients.
To create a broadcast message:
- Click Go To > Broadcast Messaging > Create Message.
- Enter a SUBJECT.
- Enter your message into the MESSAGE field.
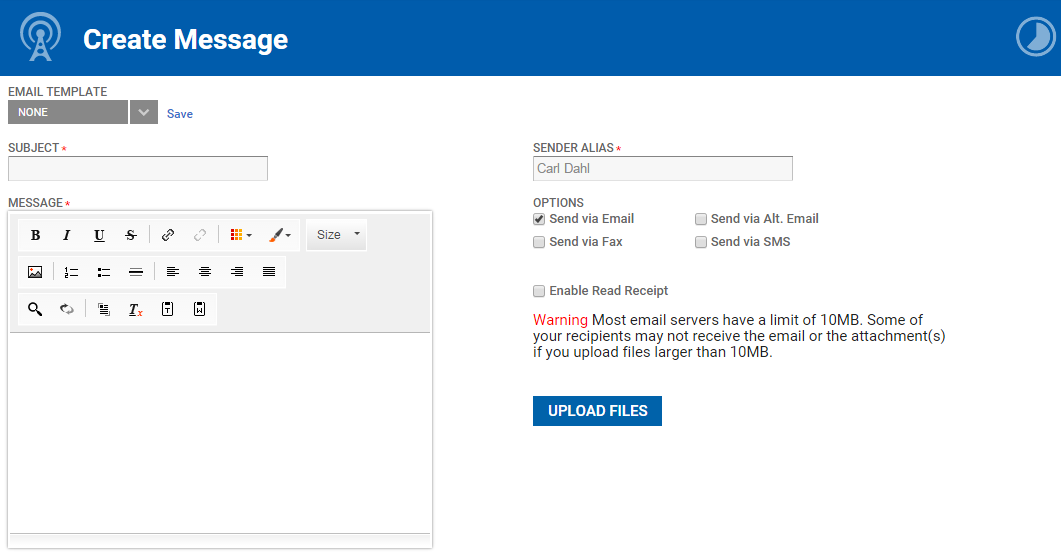
- By default, the SENDER ALIAS is populated with your name. Note: If you want a different alias, enter a new name or entity into the SENDER ALIAS field.
- Using the OPTIONS field, select how the message will be delivered.
- (Optional) Click Enable Read Receipt to receive a confirmation for each recipient that opens the message.
- (Optional) To attach a file to your broadcast message follow steps 8-10.
- Click UPLOAD FILES.
- Select a file to be attached to the broadcast message.
- Click ADD FILES.
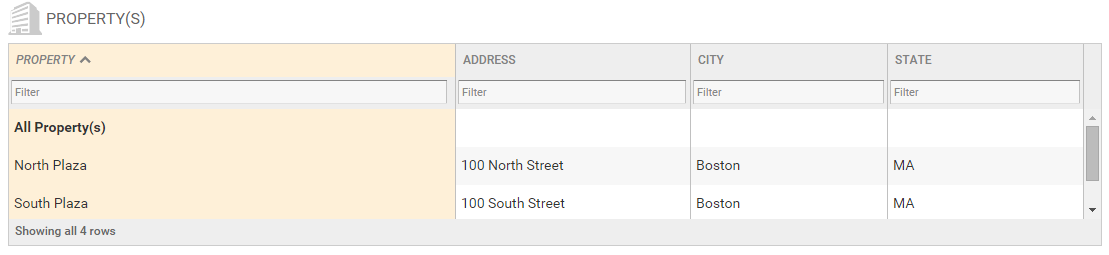
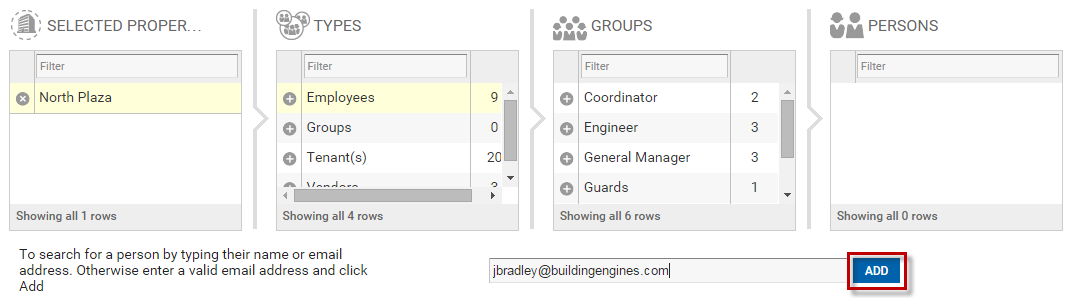
- Select the PROPERTY(s) that the message is going to. Note: You can also begin sorting by ADDRESS, CITY, or STATE.
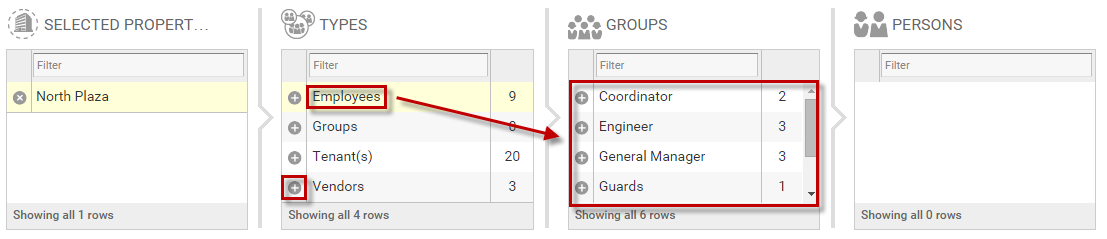
- After a property is selected, user TYPES are displayed. Click the (+) to add all users from that type or click the TYPE name to expand the further. Continue filtering by GROUP or PERSONS until you finish adding recipients to a message.
- (Optional) Click the Name or Email field, and enter either the name or the email of the person you want to message. Names or email addresses already in the system are displayed as an option to choose from. If the name displayed is a correct match, click the name to add the person to the recipient list.
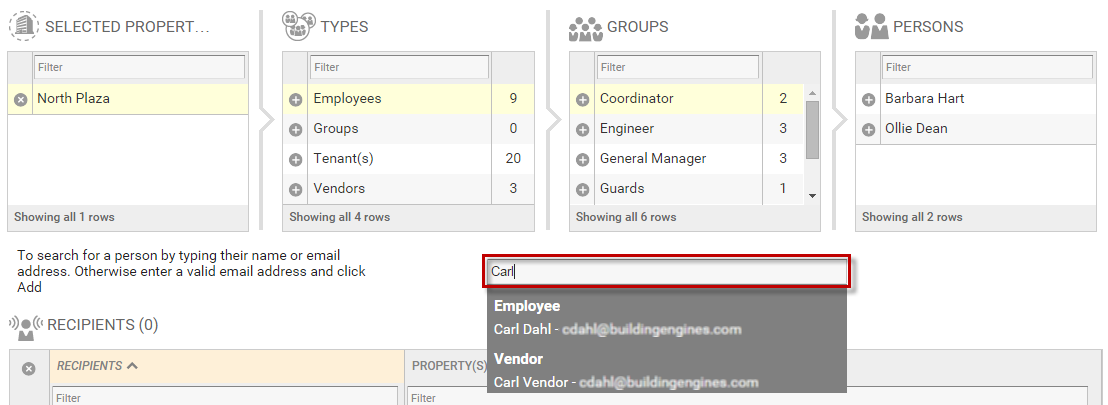
- (Optional) To add a recipient that is not already in the system, click the Name or Email field and enter the email address you want to message. If the email address is not currently in the system, the ADD button will appear. Click ADD to add them to the recipient list.
- (Optional) To remove a recipient, click the (X) located to the left of their name in the RECIPIENTS
- Click SEND to send the message.